Appearance
Improvement schedules
If you want to have different improvement schedules in different contract areas or even districts for the same construction types, please read on.
You can upload multiple improvement schedules, and then apply to properties based on contract area or district. When checking for the range in an analysis, the system will now check for the improvement schedule most appropriate to the property. If there is a schedule associated with the property’s district, then the system will use that range. If there is a schedule associated with the property’s contract area, then the system will use that range. If there is still no match, it will use the global improvement schedule.
How to make it work
In the Contractor | Options | Analyses panel, you have the following option:

By default, the system is set to Globally by a single schedule. This means that nothing has to change for you to continue working as you have been.
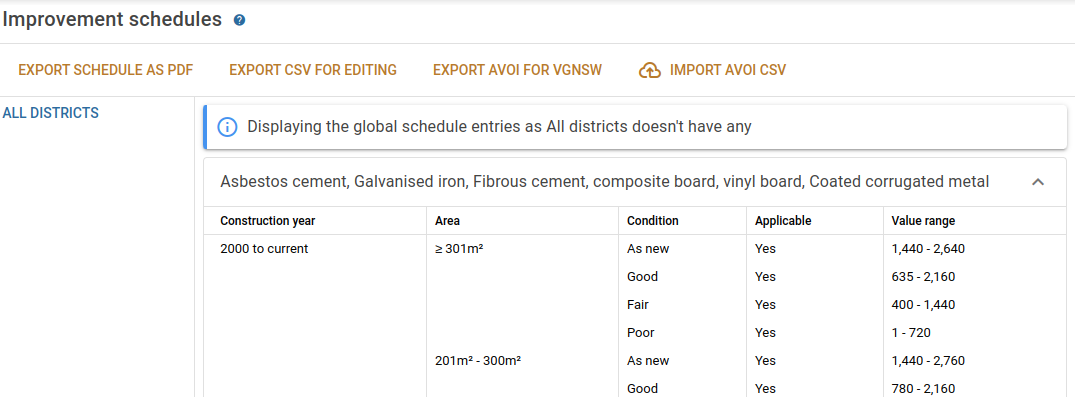
But let’s say you want to manage it by contract area. In which case you’d tick the second box, and you might see something like this in Reference items | Improvement schedules:

You’re going to see some text that says Displaying the global schedule entries since your-contract-area doesn’t have any because the system will be falling back to your global values. You can export these, and you’ll get the global values in the spreadsheet. You can then edit the downloaded spreadsheet and reimport it, and you’ll see the following:

The notice about falling back to the global version has gone away, and all analyses in this contract area will have this schedule applied to them.
The same sort of thing applies if you choose to have a schedule per district.
Printing schedules
When you click the Export schedule as PDF button, the system will format your schedule into a PDF document suitable for sharing with your DV.