Appearance
Data extractor
Introduction
There a tool that will extract all of your attachments into a folder structure that looks like this:
C:\EXTRACT
└───DISTRICT
    ├───CM1
    │   ├───1000000
    │   └───1000001
    └───CM2
        ├───1000002
        └───1000003
This means that you can select a target folder (in my case, c:\extract), and the program will put all attachments relating to the PIDs (1000000, 1000001, 1000002 and 1000003) in to the corresponding district / component folder.
The folder doesn't have to be c:\extract: you can put the files wherever you want. Any files relating to sale analyses or worksheets will be dropped into the PID folder.
Installing the program
- Download the program.
- Your browser may baulk at downloading this file; click the caret (^) next to the downloaded file and choose Keep.
- Extract the contents of the zip file to some handy location. Run the installer (setup.exe).
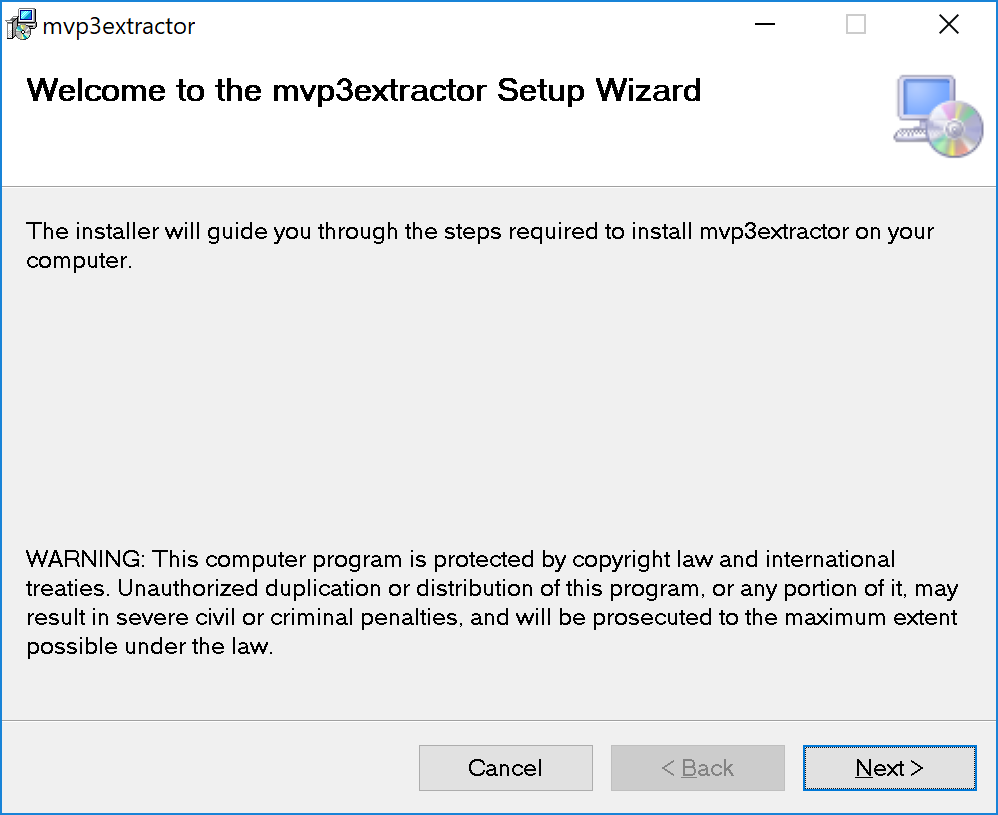
- At the setup wizard, click Next to continue.
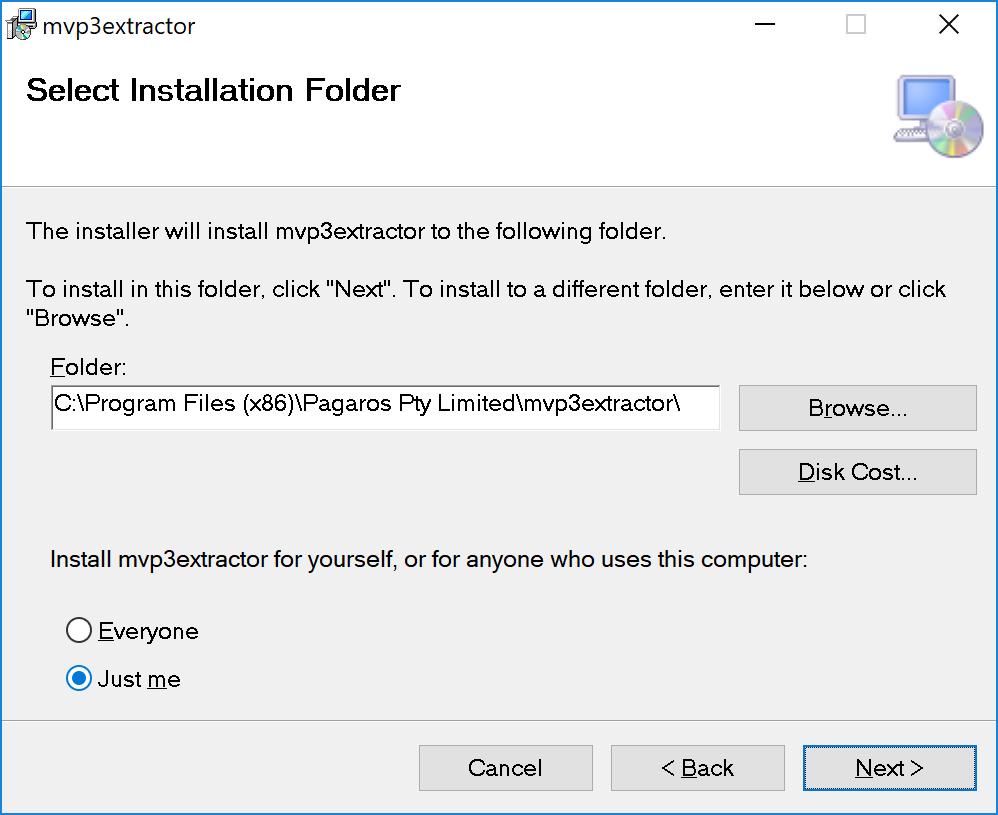
- Select the installation folder and click Next to continue.
- Click Next to confirm the installation.
Your computer will think about things for a little while, and then possibly ask you to provide administrator privileges to continue. If you want to run the program, you'll have to grant the installer administrative privileges. You'll then see a progress bar fill up, and then the installation will finish.
- When the installation is complete, click Close.
Extracting attachments
- You should see an icon on your desktop with the caption MVP3 Extractor. Double-click this icon to launch the program.
- You'll see the Extractor window waiting for you to provide some information.
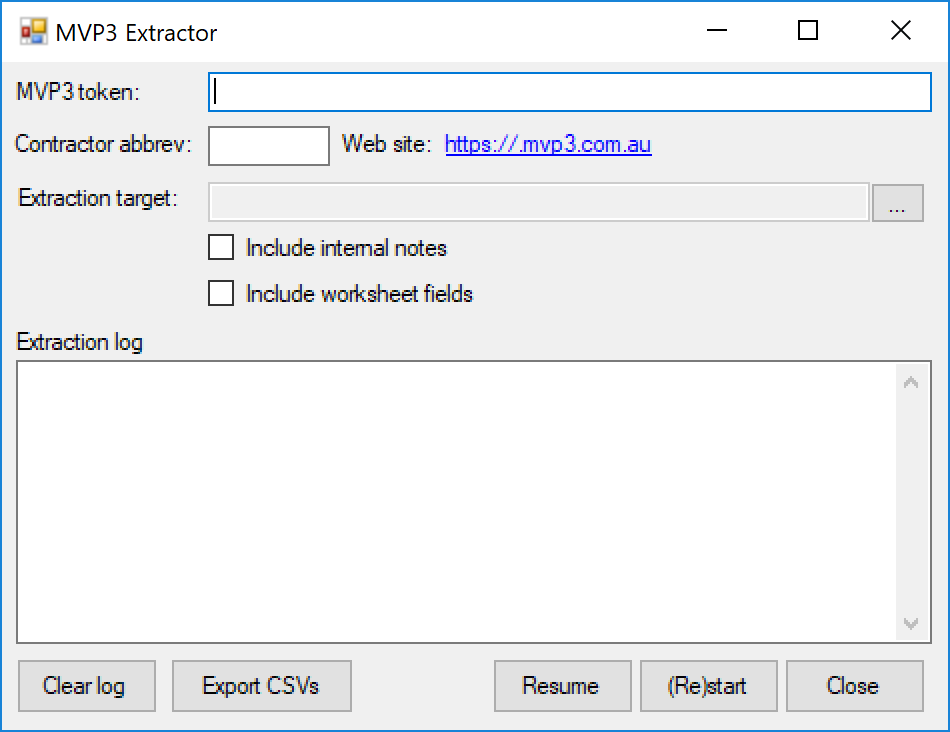
- You can get the token from Data transfer | ValMap in MVOW.
- Your contractor abbreviation will be the start of your MVP3 site name.
- Both of these are the same as you provide to the MVP3/ ValMap interface helper application.
- Click the … box at the end of the extraction target to choose the destination for your attachments.
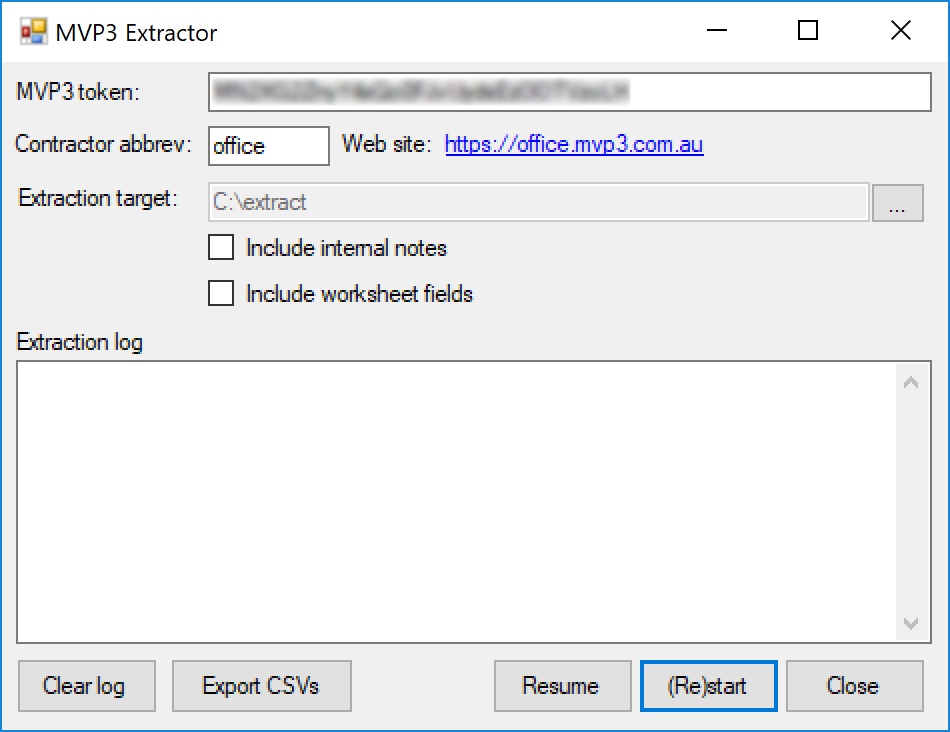
I'm using office as a contractor abbreviation because that's what I develop with. You'll use a different contractor abbreviation.
- For the first run, click the (Re)start button. You'll get a warning.
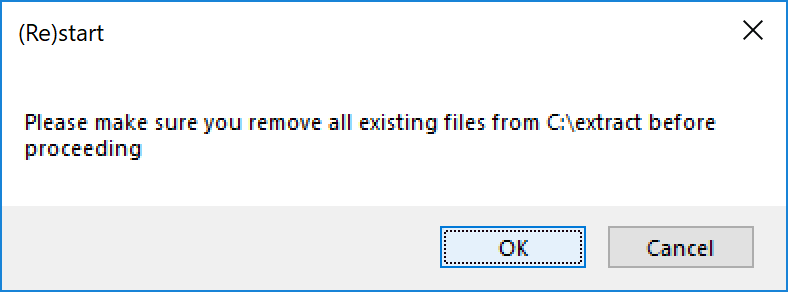
The reason for this warning is to make you think about whether you're trying to download a district for which attachments have already been downloaded. The program won't overwrite anything that may exist in the target folder, so if you don't clear it out and you're downloading the same district, you're going to get a bunch of duplicated files (with a "-1" or "-2" or whatever tacked on to the file name).
Click OK to continue.
- The program will then talk to your server and get a list of the districts for which you're licensed.
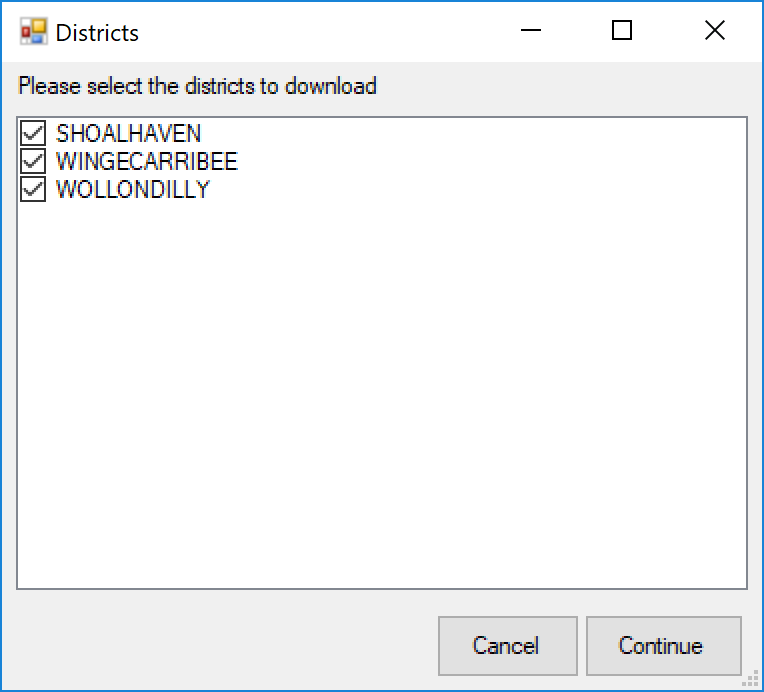
Tick the districts that you want to process, then click Continue.
You might want to do this one district at a time, or one contract area at a time.
The program will go to your server and get the land descriptions, internal notes and worksheet information for all of the districts you ticked. This may take some time, and is a good reason for ticking one district at a time.
Once it has gathered this information, it will save a local copy, and then start downloading attachments. The **(Re)start** button is renamed to **Stop**, and you can stop the process downloading whenever you want. If you click **Stop**, the **Resume** button will be enabled, and the program will pick up processing from wherever it left off. The same applies if your computer crashes, or the Internet gets broken.
Downloading will continue for quite some time.
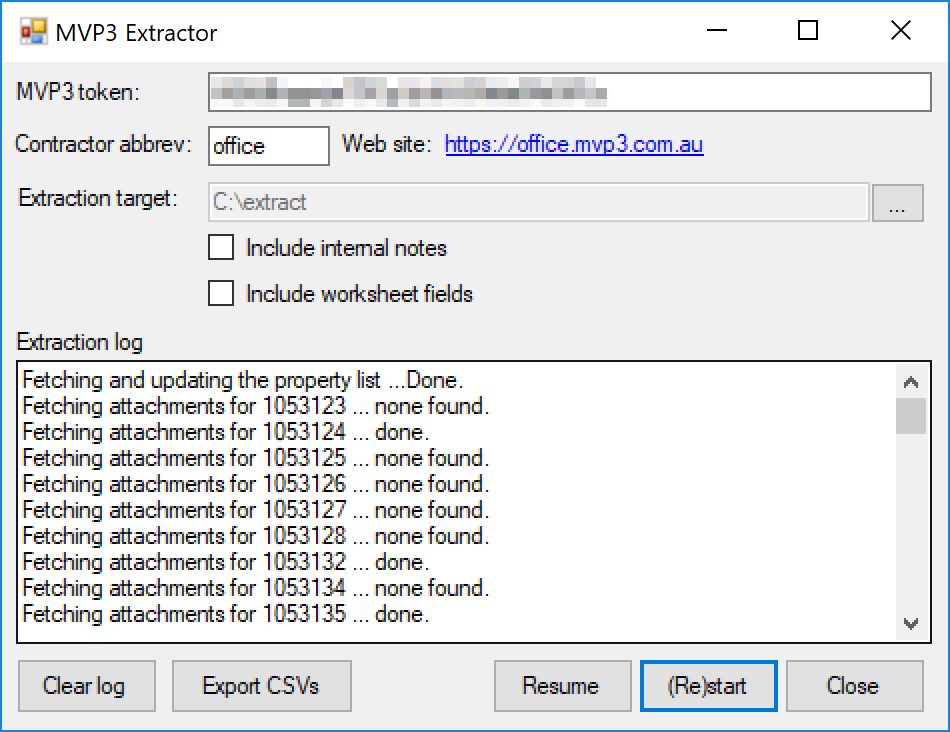
When the process is complete, we recommend you copy the contents of the district folders on to a flash drive or somewhere more permanent.
Extracting an "index" CSV
When you're done, you can click the Export CSVs button. By default, the CSV produced will contain four columns:
- District
- Component
- PID
- Land description
If you tick the Include internal notes box, the CSV will contain an extra column for the internal notes.
If you tick the Include worksheet fields box, the CSV will contain an extra fifteen columns with worksheet information in them.
These two tick boxes are independent of each other, so you can choose to tick only the worksheet box, and the internal notes will not be included in the worksheet.
The program will produce a CSV file called property_list.csv in the target directory.
RENAME THIS AS SOON AS YOU'RE DONE SO THAT YOU DON'T OVERWRITE IT LATER.
If you have any questions, please call.